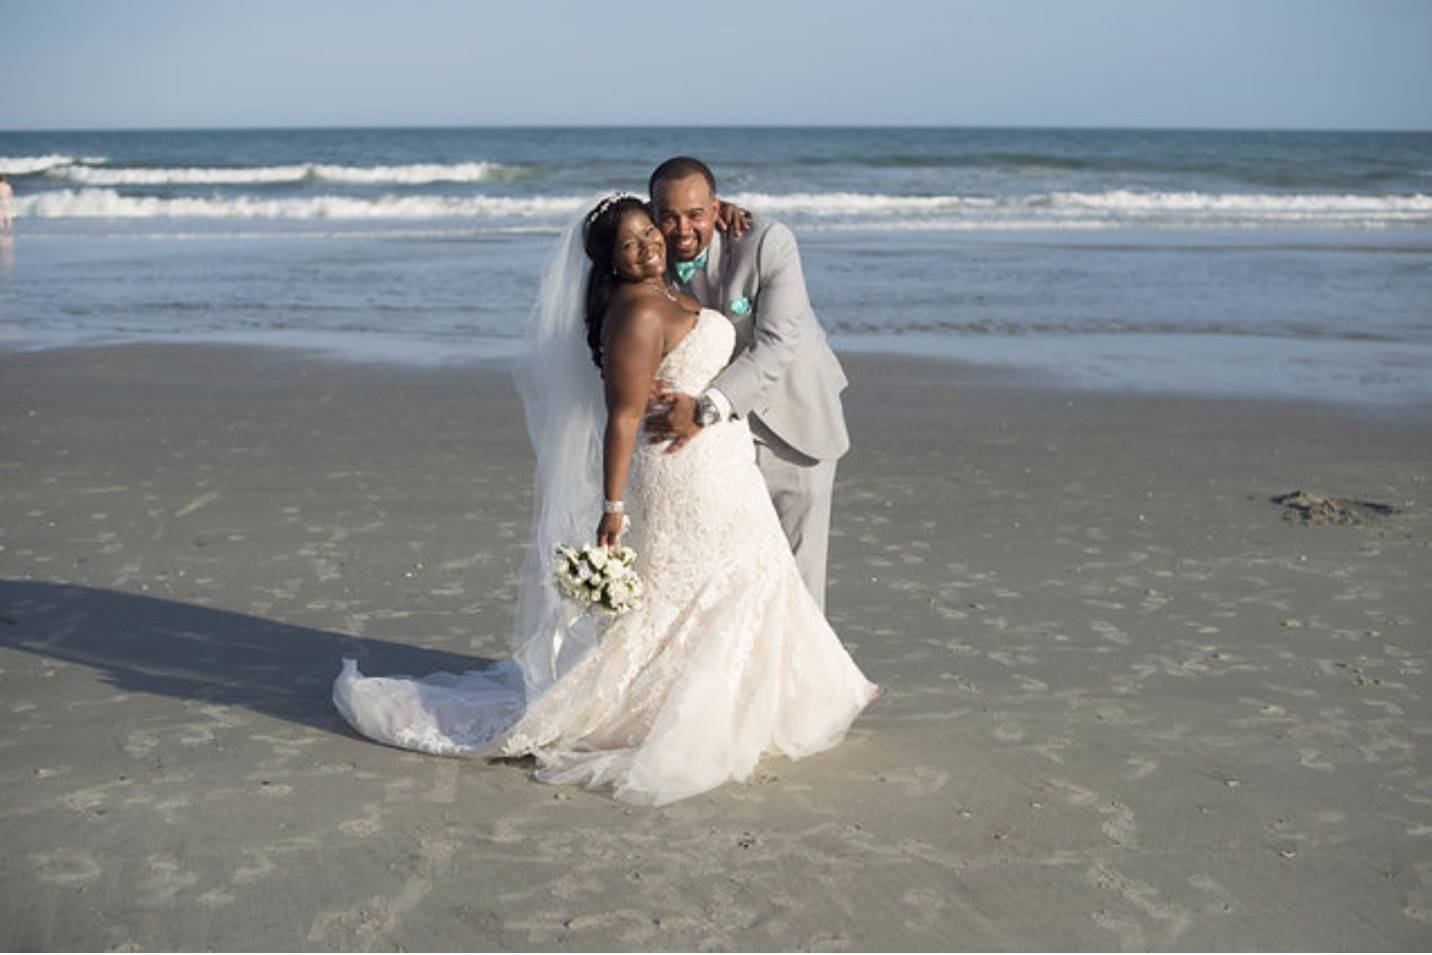
How to Create a New Folder in Windows 11: Troubleshooting Guide (2023)

Creating a new folder in Windows 11 is usually a simple and quick process. However, there are instances where you may encounter errors or issues that prevent you from creating a new folder. In this comprehensive troubleshooting guide, we will explore various methods to help you overcome this problem and create new folders effortlessly.

Method 1: Use Keyboard Shortcut to Create a New Folder

If you are unable to create a new folder using the usual method, you can try using a keyboard shortcut as a workaround. The keyboard shortcut for creating a new folder in Windows 11 is CTRL+Shift+n. Here's how you can do it:

  1. Open File Explorer by pressing Windows+e on your keyboard or by searching for it in the Windows search bar.
  2. Navigate to any directory where you want to create a new folder.
  3. Press CTRL+Shift+n on your keyboard.
  4. If the shortcut worked, a newly created folder will appear at the bottom of the directory, and you will be prompted to rename it.

Method 2: Restart Windows Explorer

Windows Explorer is at the core of the Windows interface, and restarting it can often resolve issues like being unable to create a new folder. Here's how you can restart Windows Explorer:

  1. Open the Task Manager by searching for it in the Start Menu search and selecting it from the search results.
  2. In the Task Manager window, scroll down until you find the Windows Explorer process.
  3. Click on the Windows Explorer process to highlight it.
  4. Click on the Restart button located on the bottom-right side of the window.
  5. Your Taskbar will disappear momentarily and then reappear.
  6. Now, try creating a new folder and see if it works.

Method 3: Create a Folder Using the Command Prompt Interface

If the previous methods didn't work, you can try creating a folder using the Command Prompt window. Here's how:

  1. Open the Command Prompt interface by searching for it in the Start Menu search and selecting it from the search results.
  2. Once the Command Prompt window appears, type the following command in the command line and press Enter: mkdir
  3. This command will display a list of folders present in the current directory.
  4. Now, type the following command, replacing the 'testfolder' part with the desired name for the new folder, and press Enter: mkdir testfolder
  5. If the command executed successfully, the newly created folder will appear in the list when you execute the 'dir' command again.

Method 4: Perform a Clean Boot on Your Computer

Performing a clean boot starts Windows with only the essential services and drivers, which can help identify if any application or background process is causing the error. Here's how you can perform a clean boot:

  1. Press Windows+r on your keyboard to open the Run window.
  2. Type msconfig in the command line and press Enter.
  3. In the System Configuration window that appears, switch to the Services tab.
  4. Check the box that says Hide all Microsoft services to hide essential services.
  5. Click on the Disable all button, then click OK.
  6. Switch to the Startup tab and click on the Open Task Manager text.
  7. In the Task Manager window, disable every single startup item by highlighting them one by one and clicking Disable.
  8. Restart your computer and try creating a new folder to see if the issue is resolved.

Method 5: Look for Broken or Corrupted Files

Corrupted files on your hard drive or solid-state drive can sometimes interfere with system operations, including creating new folders. You can use the System File Checker command to check for and repair any corrupted or broken files. Here's how:

  1. Type Command Prompt in the Start Menu search, right-click on it from the search results, and select Run as Administrator.
  2. In the Command Prompt window, type the following command and press Enter: sfc /scannow
  3. The scan will start automatically and may take a few minutes to complete.
  4. After the scan finishes, it will automatically detect and repair any corrupted or broken files.
  5. Restart your computer and try creating a new folder.

Method 6: Disable Controlled Folder Access

Controlled Folder Access is a security feature in Windows 11 that blocks unauthorized changes to your files and folders by third-party applications. However, this feature can sometimes interfere with creating new folders. Here's how you can disable Controlled Folder Access:

  1. Open Windows Defender by typing Windows Security in the Start Menu search and selecting it from the search results.
  2. In the Windows Security window, click on Virus & threat protection in the left panel.
  3. Scroll down on the right panel and click on Manage settings under the Virus & threat protection section.
  4. Scroll to the bottom of the window and click on Manage Controlled folder access.
  5. Set the toggle for Controlled folder access to Off.
  6. Try creating a new folder in a random directory to see if this method resolves the issue.

Method 7: Make Changes to the System Properties Settings

Adjusting certain settings in the System Properties can sometimes help resolve issues with creating new folders. Here's what you can do:

  1. Press Windows+r on your keyboard to open the Run window.
  2. Type sysdm.cpl in the command line and press Enter.
  3. In the System Properties window that appears, switch to the Advanced tab.
  4. Under the Performance section, click on the Settings... button.
  5. In the Performance Options window, make sure the toggle for Adjust for best performance of: is set to Programs.
  6. Click on the Change... button in the Virtual memory section.
  7. In the Virtual Memory window, check the box that says Automatically manage paging file size for all drives. If it's already checked, uncheck it and then click OK.
  8. After making these changes, restart your computer and try creating a new folder to see if the issue is resolved.

Method 8: Use Registry Editor to Fix the Issue

If you still can't create a new folder, you can try fixing the problem by making changes to the registry files using the Registry Editor. Here's how:

  1. Open the Registry Editor by searching for it in the Windows search bar and selecting it from the search results.
  2. In the Registry Editor window, copy and paste the following command into the address bar and press Enter: Computer\HKEY_CLASSES_ROOT\Directory\Background\shellex\ContextMenuHandlers
  3. Right-click on ContextMenuHandlers from the left panel, select New, and then select Key.
  4. Rename the newly created key to New.
  5. Double-click on the Default string. In the Edit String dialog box, enter the following value in the Value data text box: {D969A300-E7FF-11d0-A93B-00A0C90F2719}
  6. Restart your computer and check if the New option is available when you right-click on the desktop or inside File Explorer.

Conclusion

In this troubleshooting guide, we have explored various methods to help you overcome the issue of not being able to create a new folder in Windows 11. By following these steps, you should be able to resolve the problem and create new folders effortlessly. Remember to try each method one by one until you find the one that works for you.

References

Top Articles
Latest Posts
Article information

Author: Dr. Pierre Goyette

Last Updated: 16/10/2023

Views: 5985

Rating: 5 / 5 (50 voted)

Reviews: 89% of readers found this page helpful

Author information

Name: Dr. Pierre Goyette

Birthday: 1998-01-29

Address: Apt. 611 3357 Yong Plain, West Audra, IL 70053

Phone: +5819954278378

Job: Construction Director

Hobby: Embroidery, Creative writing, Shopping, Driving, Stand-up comedy, Coffee roasting, Scrapbooking

Introduction: My name is Dr. Pierre Goyette, I am a enchanting, powerful, jolly, rich, graceful, colorful, zany person who loves writing and wants to share my knowledge and understanding with you.